Building an ASP.NET MVC remote web in a Sharepoint Cloud-hosted App
I know there is already a great article on iLove SharePoint about this, but since it is nearly one year old and because the process as been simplified a lot in the latest updates of Visual Studio 2012, I’ll retake this subject here.
For my article, I’ll use an Autohosted App but the process is nearly the same for a Provider-hosted App.
So let’s start by creating a new App for SharePoint 2013 project, I’m not sure wether the remote web is now supporting .NET Framework 4.5, but if you don’t plan to use .NET Framework 4.5 new features, you’d better select the .NET Framework 4 on the top of the new project window (or try with .NET Framework 4.5 and you’ll see if it works)!
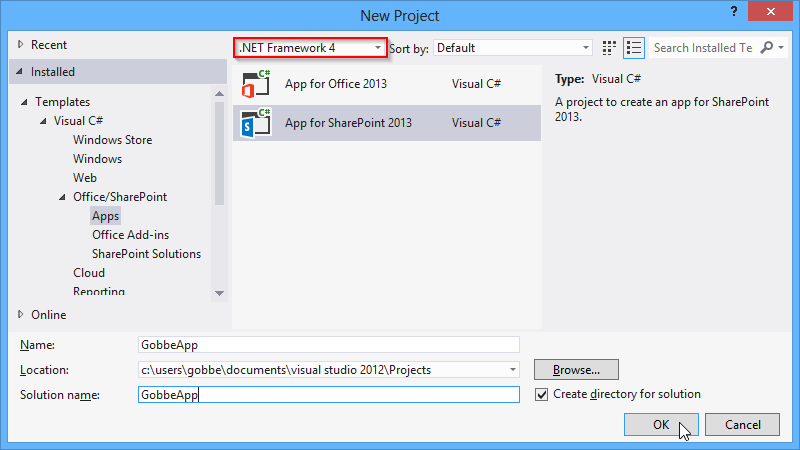
Then you’ll be prompted to specify the name of your App, your SharePoint site, and that is an Autohosted App.
It may take a few seconds to create all that stuff but you should end with something like that (a SharePoint App project and the remote web project).

Let’s add an ASP.NET MVC 4 Web Application by right clicking on the solution name (highlighted in blue in the screenshot just above), select the Add menu and hit the first entry: New Project…
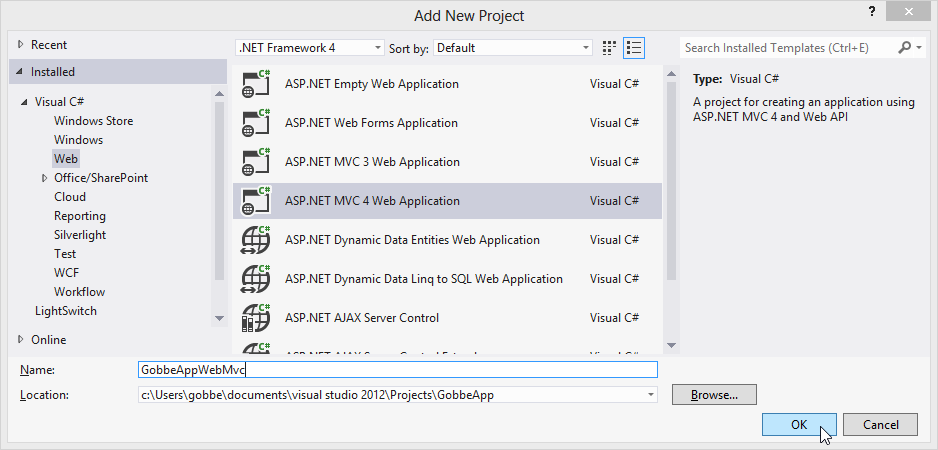
You’ll be asked to select a project template, to start with something easy but still clean I’ll select the Basic project template with the Razor View Engine (you may create a test project but it isn’t required).
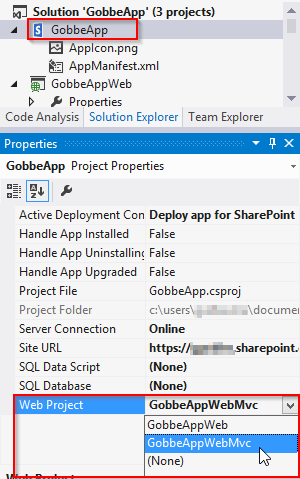
Once the new ASP.NET MVC 4 Web Application project is created, in the Solution Explorer, click on the SharePoint App (cf. red frame in the screenshot below) and change the associated Web Project in the properties window (if you don’t see the properties window, it is the penultimate entry in the View menu) to select our newly created ASP.NET MVC 4 project.
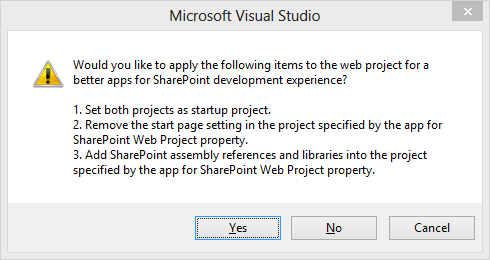
Visual Studio will prompt you with a dialog box, just answer yes because it will add all the SharePoint stuff we need to work with SharePoint in our ASP.NET MVC 4 remote web !
Now that the new remote web is selected, you may delete the old remote web project (in my case, GobbeAppWeb).
And it’s done! You may now start by adding a Controller and a View to the ASP.NET MVC 4 remote web project to print something cool. But don’t forget to double click on the AppManifest.xml to edit the Start Page on your remote web (e.g. if you have a Controller named HomeController with an Action method Index(), you may just add /Home/ to the existing Start Page).

If you need it, here is a basic HomeController sample and the associated Index view.
$ cat HomeController.cs
|
|
$ cat Index.cshtml
|
|
Final result :
If you plan to have multiple controllers and/or action methods, I strongly advise you to use the small ContextHelper I’ve wrote in a previous post : ContextHelper post. It will help you to use the ClientContext through multiple pages without having to give the Standard Tokens to every link of every action method.
Finally, if you want to have the SharePoint look and feel (also called the SharePoint Chrome Control), just have a look at the second part (“Add SharePoint Look and Feel to the App”) of this article on the iLove SharePoint blog.